Content from Introduction
Last updated on 2024-12-31 | Edit this page
Overview
Questions
- What is panorama photography?
Objectives
Brief History of panorama photography
Introducing the definition of panorama photography and spherical panoramas
Brief History of panoramic representations
The idea of panoramic representation can be traced back to 20 A.D for example with the frescos in the houses in Pompeii1 (and probably even before). Techniques to capture panoramic views in photography started as early as photography itself. It was mostly used by photographers who were making a series of consequent photos, to show the whole city viewed from an elevated point. This is because a single photograph from far away could not show enough details of the scene.2

_-_frescos_01.jpg)


.jpg)
When considering panoramic photographs we must be aware of certain terminology, this is because there are different techniques involved. Firstly we must differentiate between a raster digital image and a vectorised 3D environment which allows for interactivity, for example when visualising immersive 360 environments (e.g. VR).
In this lesson, we focus on the process of digitising and visualising panorama digital images or photographs for cultural heritage.
Panorama photographs
These are digital images which capture a 360 / wide-angle horizontal view or a broad perspective of a scene.
The digital images can be re-projected onto a cylinder or a sphere for visualisation. Although they can lack information when re-projecting on a sphere.

Spherical panorama photographs
A spherical panorama photograph captures a full view of a scene in every direction, both horizontally and vertically, from the shooting point. Unlike traditional panoramas that cover a wide horizontal span, spherical panoramas allow viewers to look in any direction.
It also known as a photosphere, 360-degree panorama or spherical panorama. With special interactive viewers, it is possible to explore the image as if we were standing right in the middle of it, experiencing the entire surroundings by allowing the user to rotate with three degrees of freedom with regards to interaction3.


All panoramas can be created using specialised panoramic cameras, wide-angle lenses, or by using software to stitch together photos taken from a single vantage point.
Chambers’s Encyclopaedia. (1973). United Kingdom: International Learning Systems, p747↩︎
History of Panoramic Photography, Digital Collection, University Libraries Washington. https://content.lib.washington.edu/panoramweb/history.html↩︎
Content from Examples in Cultural Heritage
Last updated on 2024-12-31 | Edit this page
Overview
Questions
- When is spherical panorama photography used in Cultural Heritage environments?
Objectives
- Lists projects with examples of digitisation using spherical panorama photography of Cultural Heritage
Click Here to open the interactive visualisation in another window
Spherical panorama images are popular for documenting Cultural Heritage, because:
- They allow to visualise an accurate and rich representation of cultural environment from a vantage point.
- They give the viewer the possibility to explore the surroundings of a certain environment with ease.
- They llow to create Virtual Tours (not to be confused with 3D virtual tours which come from video game techniques).
The article: Panoramic 360◦ Sphere: Digitization and Mobilization of Cultural Heritage Site and Story Visualizing of History for Cultural Tourism, by Ylenia Cariani highlights the benefits of spherical panorama for cultural tourism.
The following are examples of projects using these techniques:
- UNESCO World Heritage Sites
- 360-walkthrough of the-booth-museums osteology gallery
- The Met 360° Project
- Van Gogh Museum Amsterdam
- Arctic Culture And Climate British Museum
- Kuwait National Museum
- National Gallery Guggenheim Museum
Challenge
Think how spherical panorama might provide different or complementary information to 3D models acquired using photogrammetry.
In which cases does it make sense to deploy 360 photography within the context of your project?
Content from Techniques for Capturing Images
Last updated on 2024-12-31 | Edit this page
Overview
Questions
What methods are available for capturing spherical panorama images?
How do we set up the shooting scenarios?
Objectives
Explain how different techniques are available for spherical panorama photography
Cover camera setups for spherical panorama photography
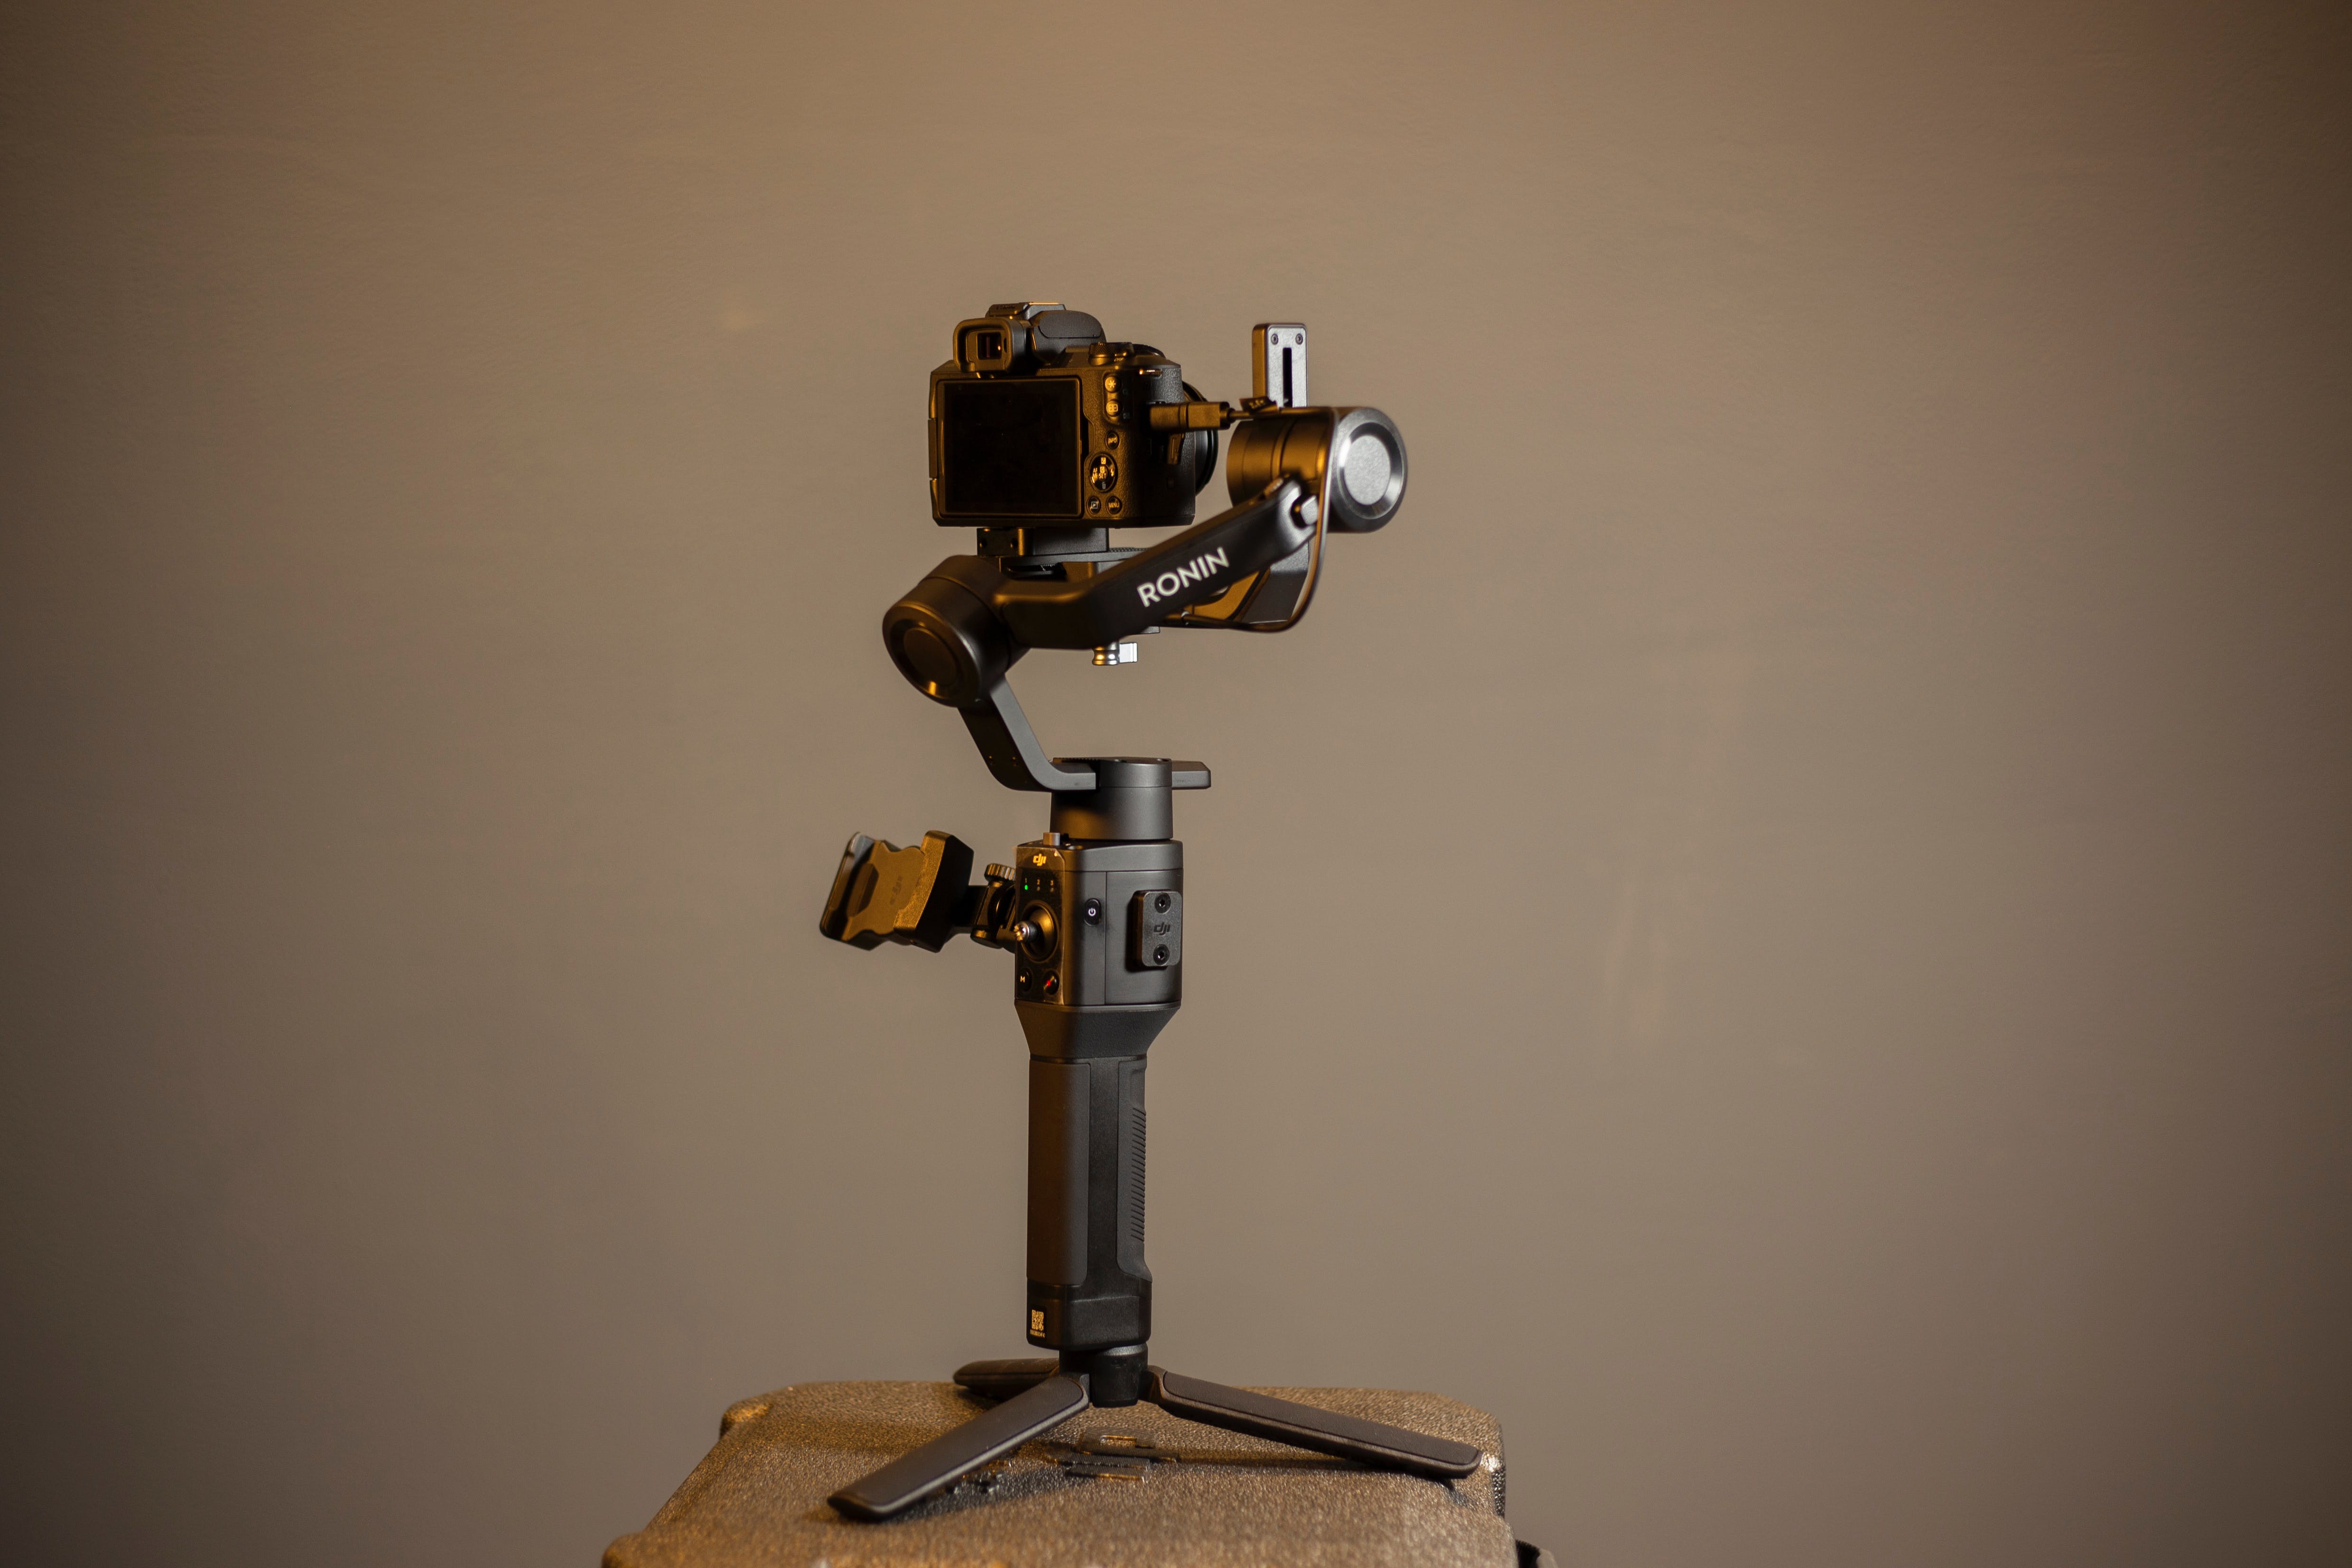
Multiple-shot rotating (Pano Kit) DSLR camera
This technique uses a regular DSLR camera, a compact camera or a mobile phone, accompanied by rotating mechanism such as the Matterport for DSLR cameras or the Insta360 Flow for mobile phones.
Whichever device you use, the idea is to take interval-timed photographs, covering the whole 360 horizontal and vertical area.
For vertical coverage you will need:
a wide-angle lens in portrait mode for DSLR cameras
an adapter kit for mobile phones
if you are not using a wide-angle lens it will be necessary to shoot 4 more photographs at 90 degrees (or 3 at 60 degrees) tilted to the top and the bottom of the view
This is a general guideline for shooting with regular cameras. A good rule is to overlap the photos for at least 1/3 of each sequential image. However there are many different lenses for DSLR cameras and it is important to know their characteristics, especially the FOV’s(Field of View) settings.
The cost of the equipment is lower, but it takes more time to produce an image.
Spherical panorama camera/360 camera
This technique uses a camera with one or more fish-eye lenses such as the Insta360.
The cost of the equipment is higher, but it takes less time to produce an image.
Only one shot is necessary because the camera contains multiple camera to cover the 360 spherical spectrum.
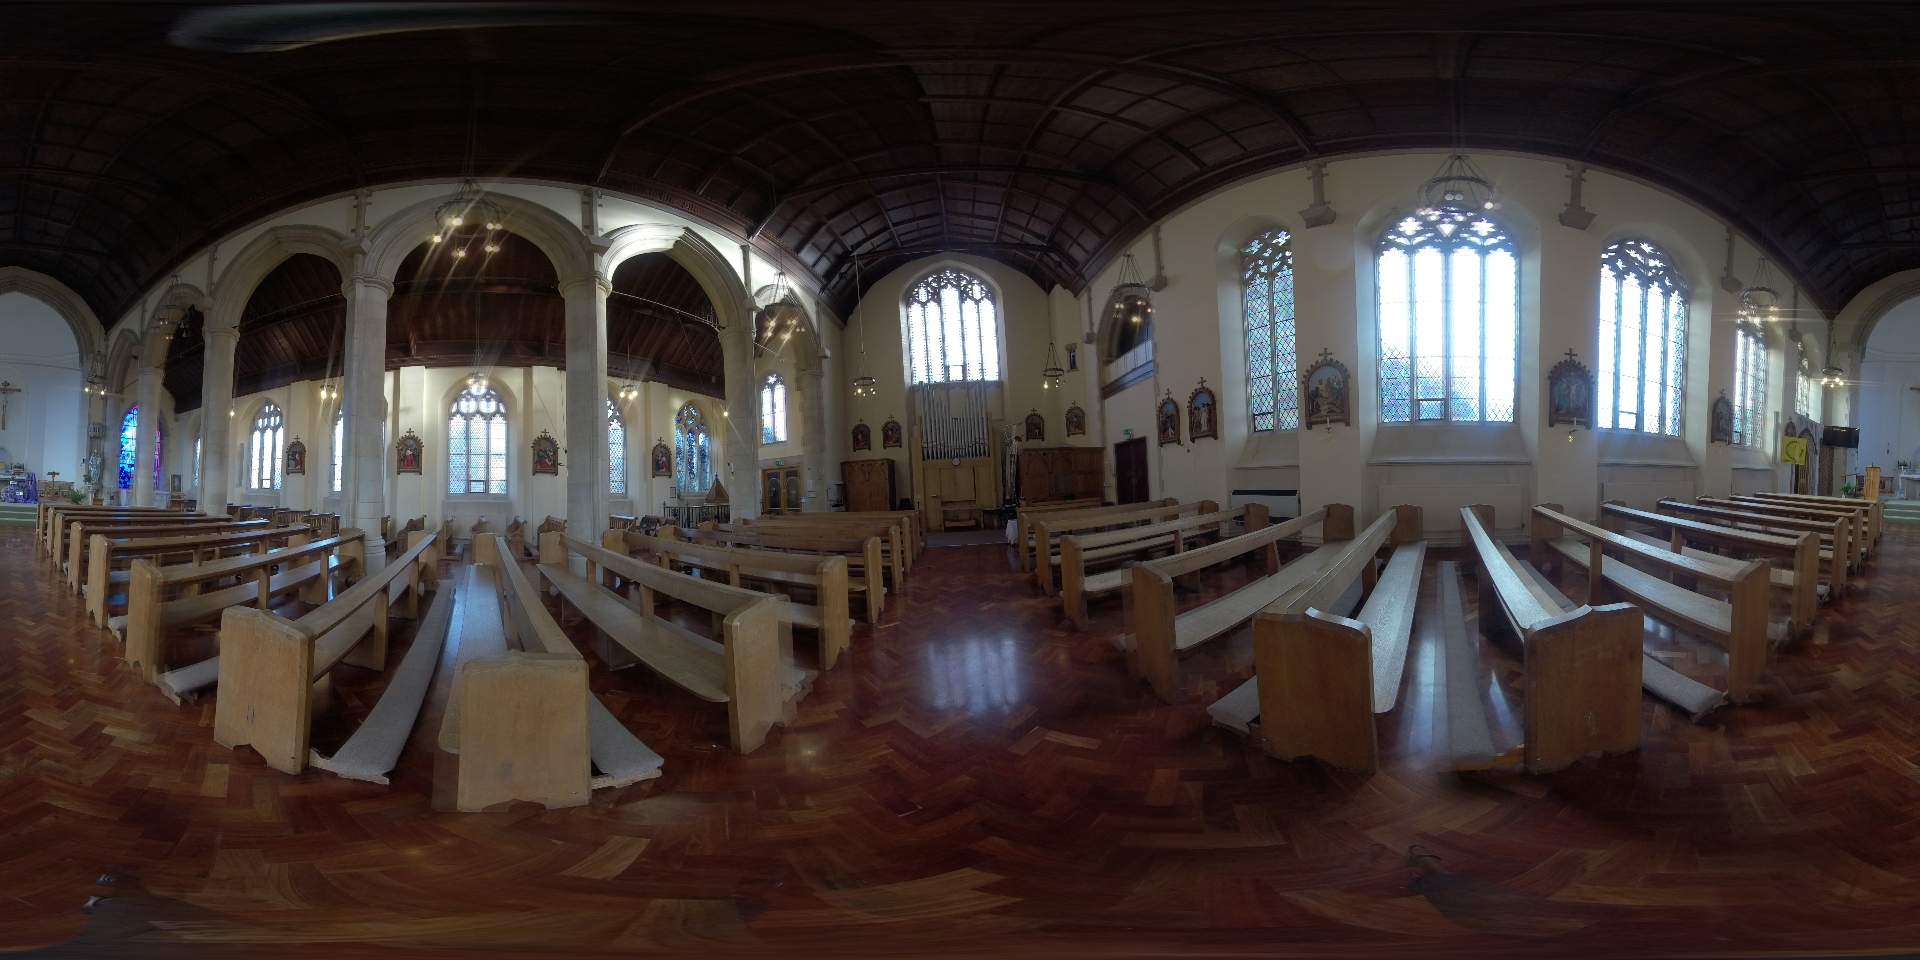
 |
 |
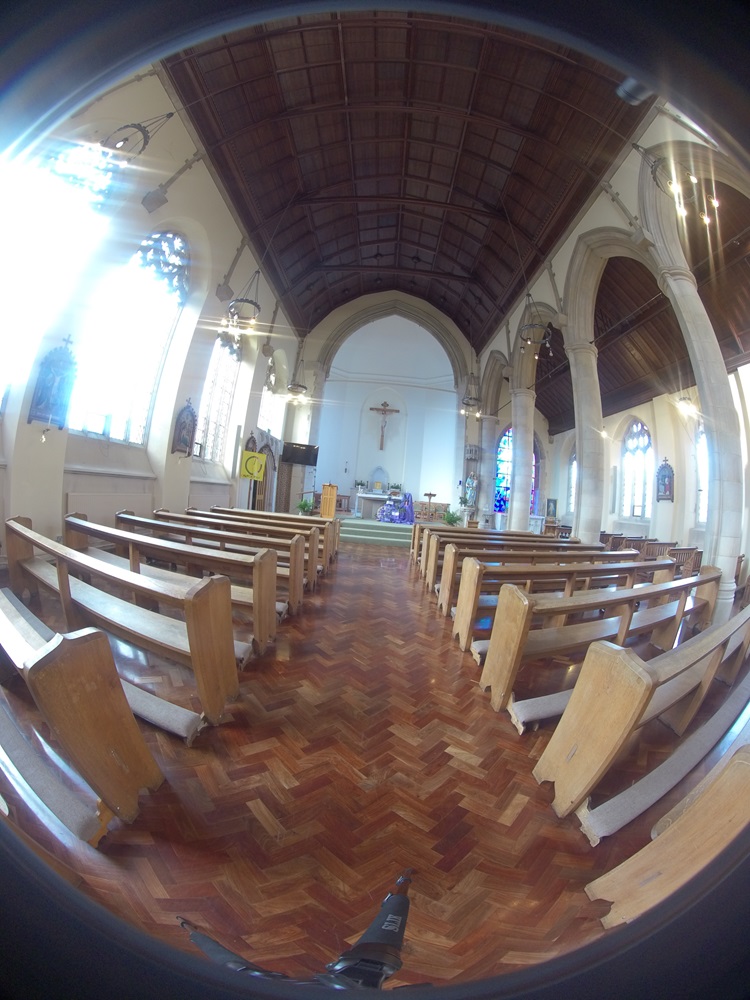 |
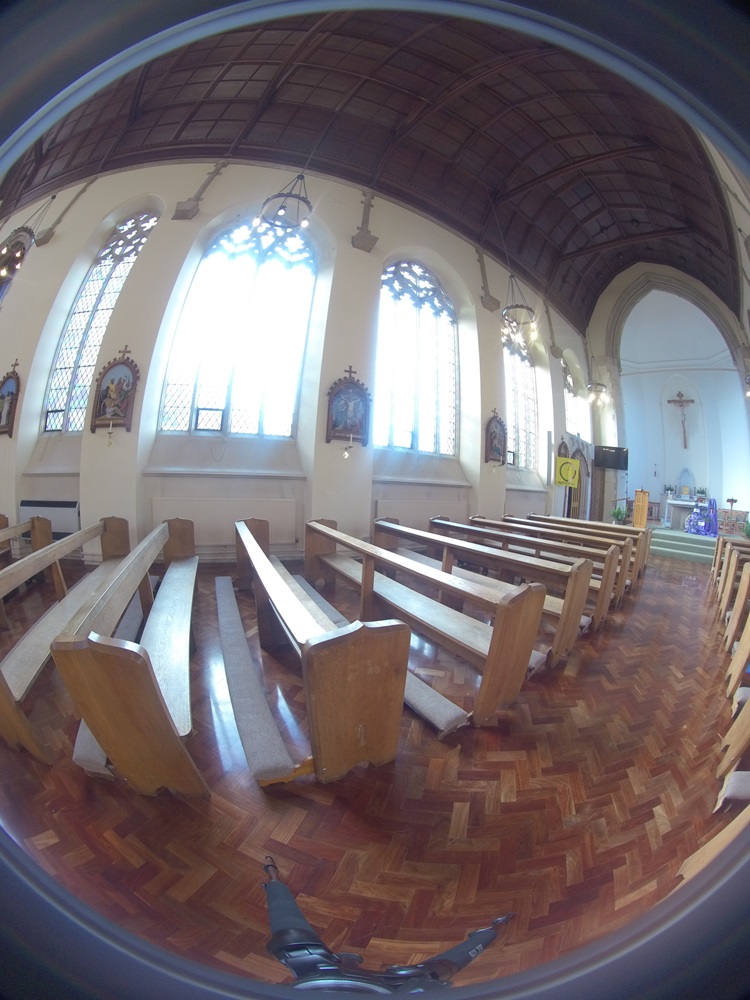 |
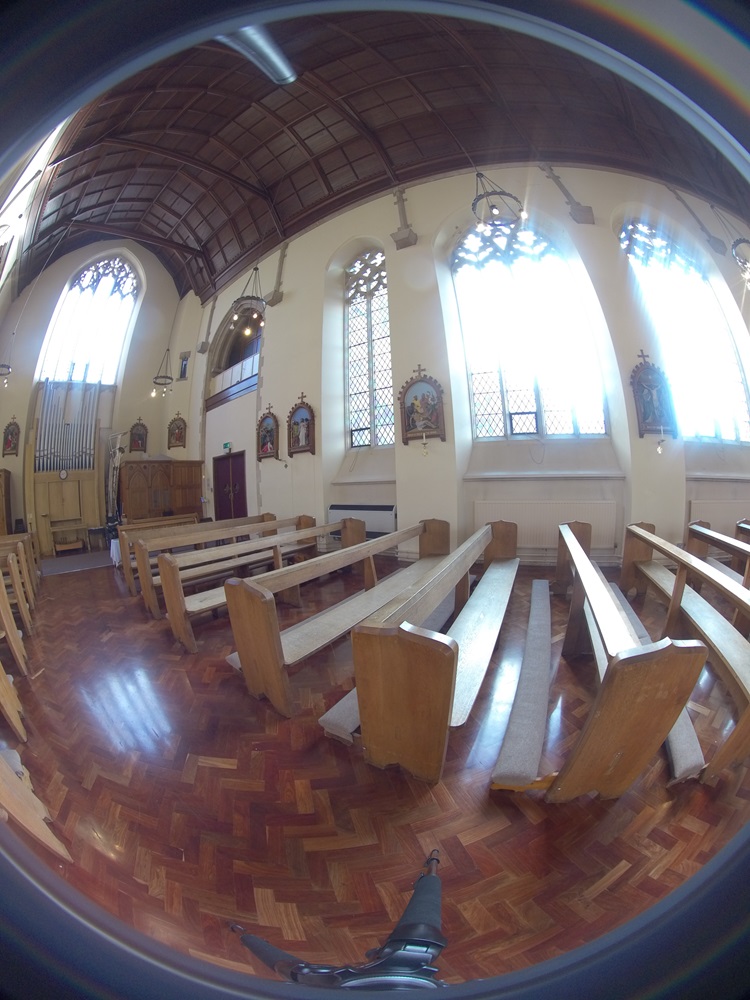 |
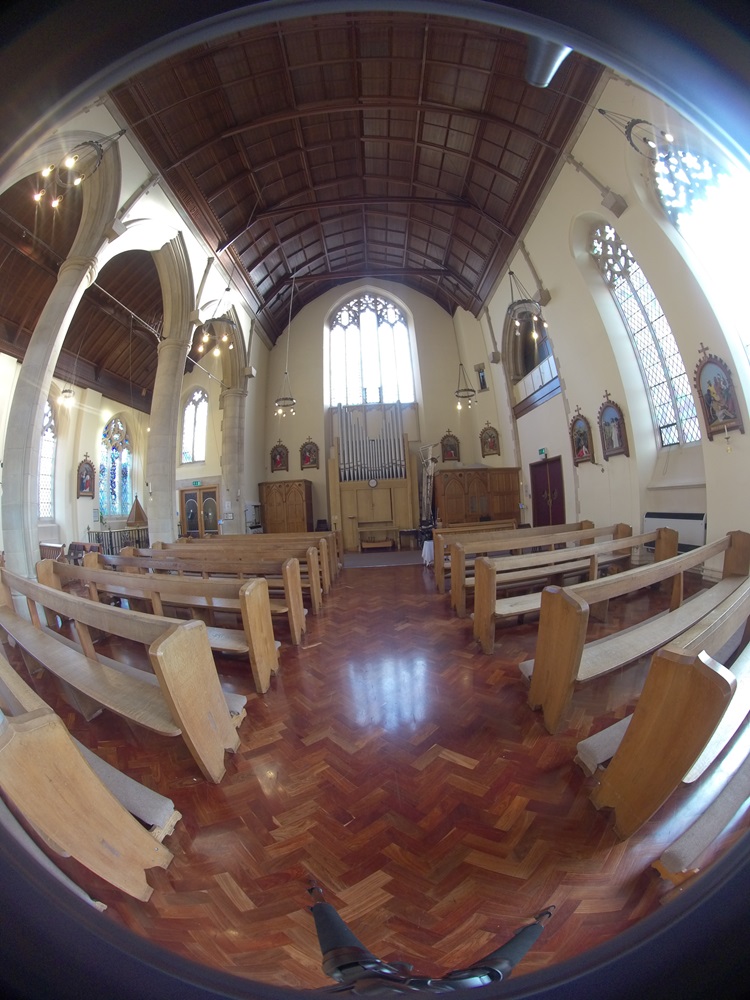 |
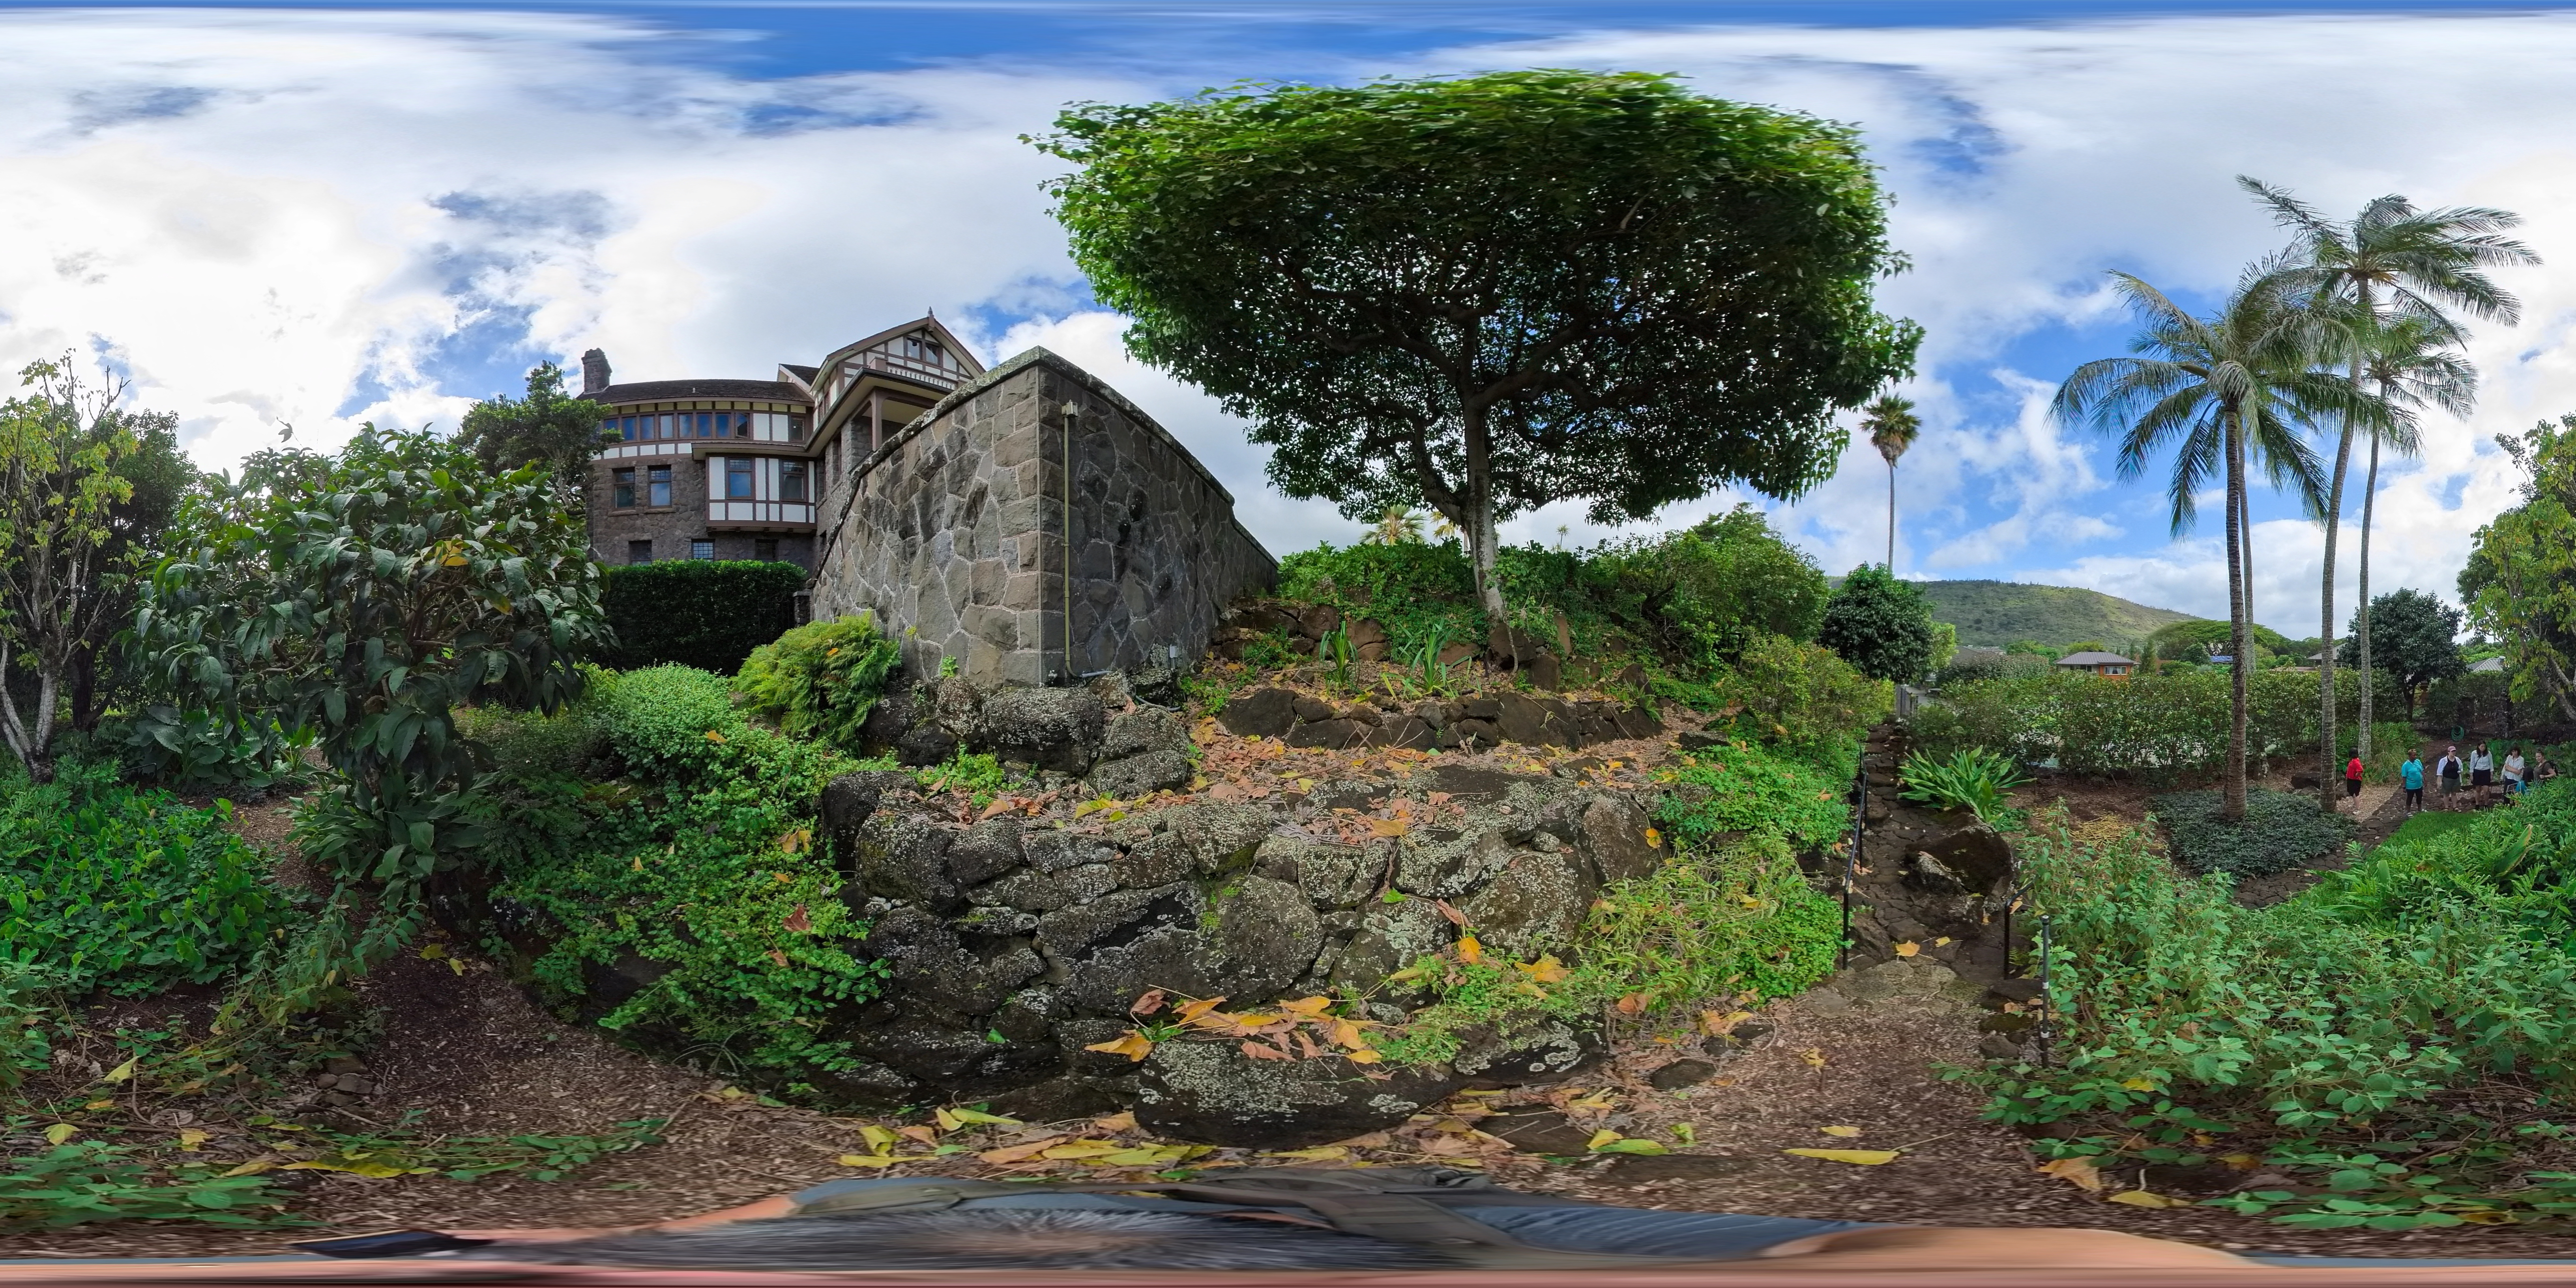
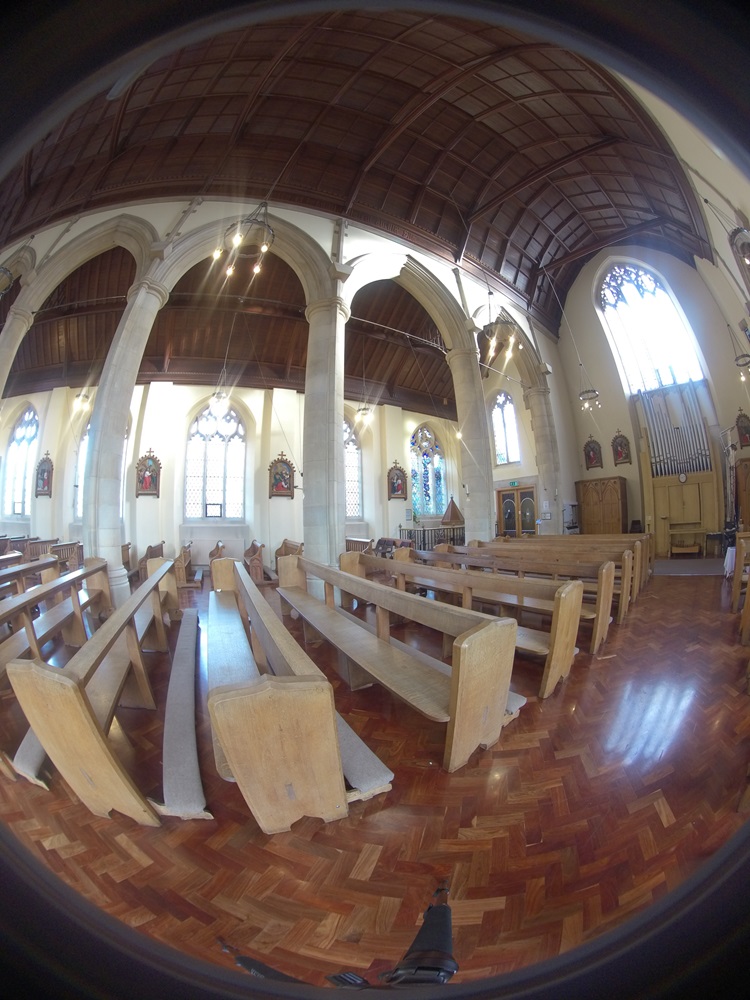
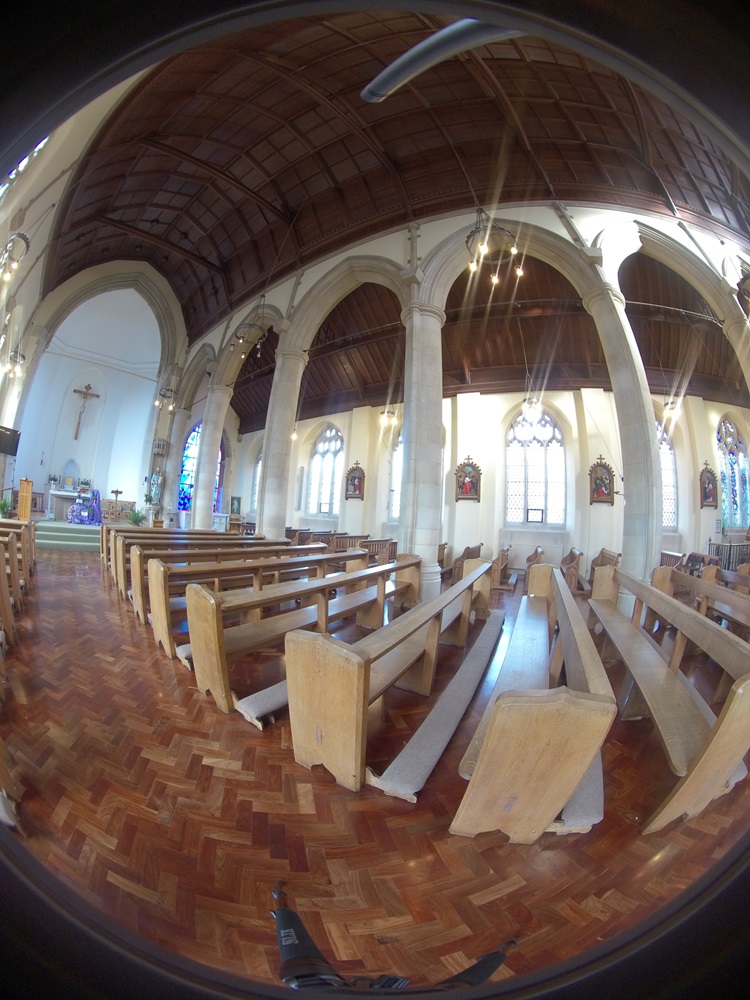
Spherical unprocessed photos of St Mary’s Roman Catholic Church Brighton (UK), DSVMC University of Brighton, under DSVMC

Below you can see a brief explanation about the differences in cost, quality and time for using one or the other technique.
What is the difference between a 360 Camera and an Asteroom Virtual Tour Kit?, under Asteroom, via YouTube.
Content from Camera Setup and Acquisition
Last updated on 2024-12-31 | Edit this page
Multiple-shot rotating (Pano Kit) with DSLR camera setup and acquisition
When using this method we should follow these specific steps:
Position the tripod at the point where you want to take the photographs and make sure is levelled with the bubble.
Mount the rotating (mount) mechanism on the tripod. The mount can be motorised and operated with a remote control or with a specialised app.
Mount the camera on top of the rotating mount and turn it on.
Turn your camera in portrait mode. This is ideal when shooting spherical panoramas because of the extended vertical coverage.
Set the camera to manual focus so that it does not change between different shots. For instance, try to focus to infinity if your lens permits such a function. To increase Focal length try to use high f-stop numbers, especially if you are shooting outside in good light conditions.
Adjust the light settings for acquiring well-lighted photographs. This guideline contains additional advice.
Start shooting by rotating the camera at a minimum 60-degree angle, depending on the focal length of your lens. Please refer to the previous section to check the amount of pictures to be taken.
To speed up the process you can use a motorised camera mount synchronised with the timer of the camera. In this case:
Set up the number of photographs to be taken on your camera.
Set up the interval time on your rotating mount.
Start the process.
Here is a comprehensive video of the whole process:
How to shoot 360 panoramas with a DSLR, under Metareal, via YouTube
Using a compact camera or a mobile phone to shoot spherical panorama photographs is slightly different than using a DSLR or a specialized 360 camera. You will need a mobile phone mount like the monfrotto.
How To Create 360 Photos with insta360 Flow, under Eat Sleep 360, via YouTube
Spherical panorama camera/360 camera setup and acquisition
Although these steps are specific to the Insta360 Pro 2, they remain easily applicable to other types of 360 cameras:
Position the tripod at the viewpoint where you want to take the photographs and make sure is levelled with the bubble.
Mount the camera on the tripod.
Turn on the camera, and turn on the Wifi.
Turn on the Wifi (or Bluetooth if you are using another system) on your phone, find the camera and connect to it.
Open the control camera App and connect to it (for the Insta360 you can follow the tutorial on the app).
Keep the camera straight using a level function of the camera app.
Adjust the light setting on the app. Settings for acquiring well-lighted photographs are the same settings for standard DSRL cameras. You should be already familiar with these settings. If you need some help you can consult these guidelines.
Start taking the first photographs. This will be a series of 6 photographs for mono viewing or 12 for stereo viewing.
Here is a quick video tutorial for general 360 camera shooting:
How to shoot panoramas with a 360 camera, under [under Metareal, via YouTube
Shooting tips
Use a good-quality, strudy and slim tripod.
Where possible, keep the sun on the side of the camera and do not position the camera directly looking at the sun.
In all cases use a remote control or a dedicated app for taking photographs to avoid camera movements.
Acquire the photographs in raw format as they contain more colour information.
Content from Practical Exercise for spherical panorama photography
Last updated on 2024-12-31 | Edit this page
Overview
Questions
- How a practical exercise can expand the knowledge for digitising with spherical panorama Images?
Objectives
- Practical exercise and some ideas for equipment

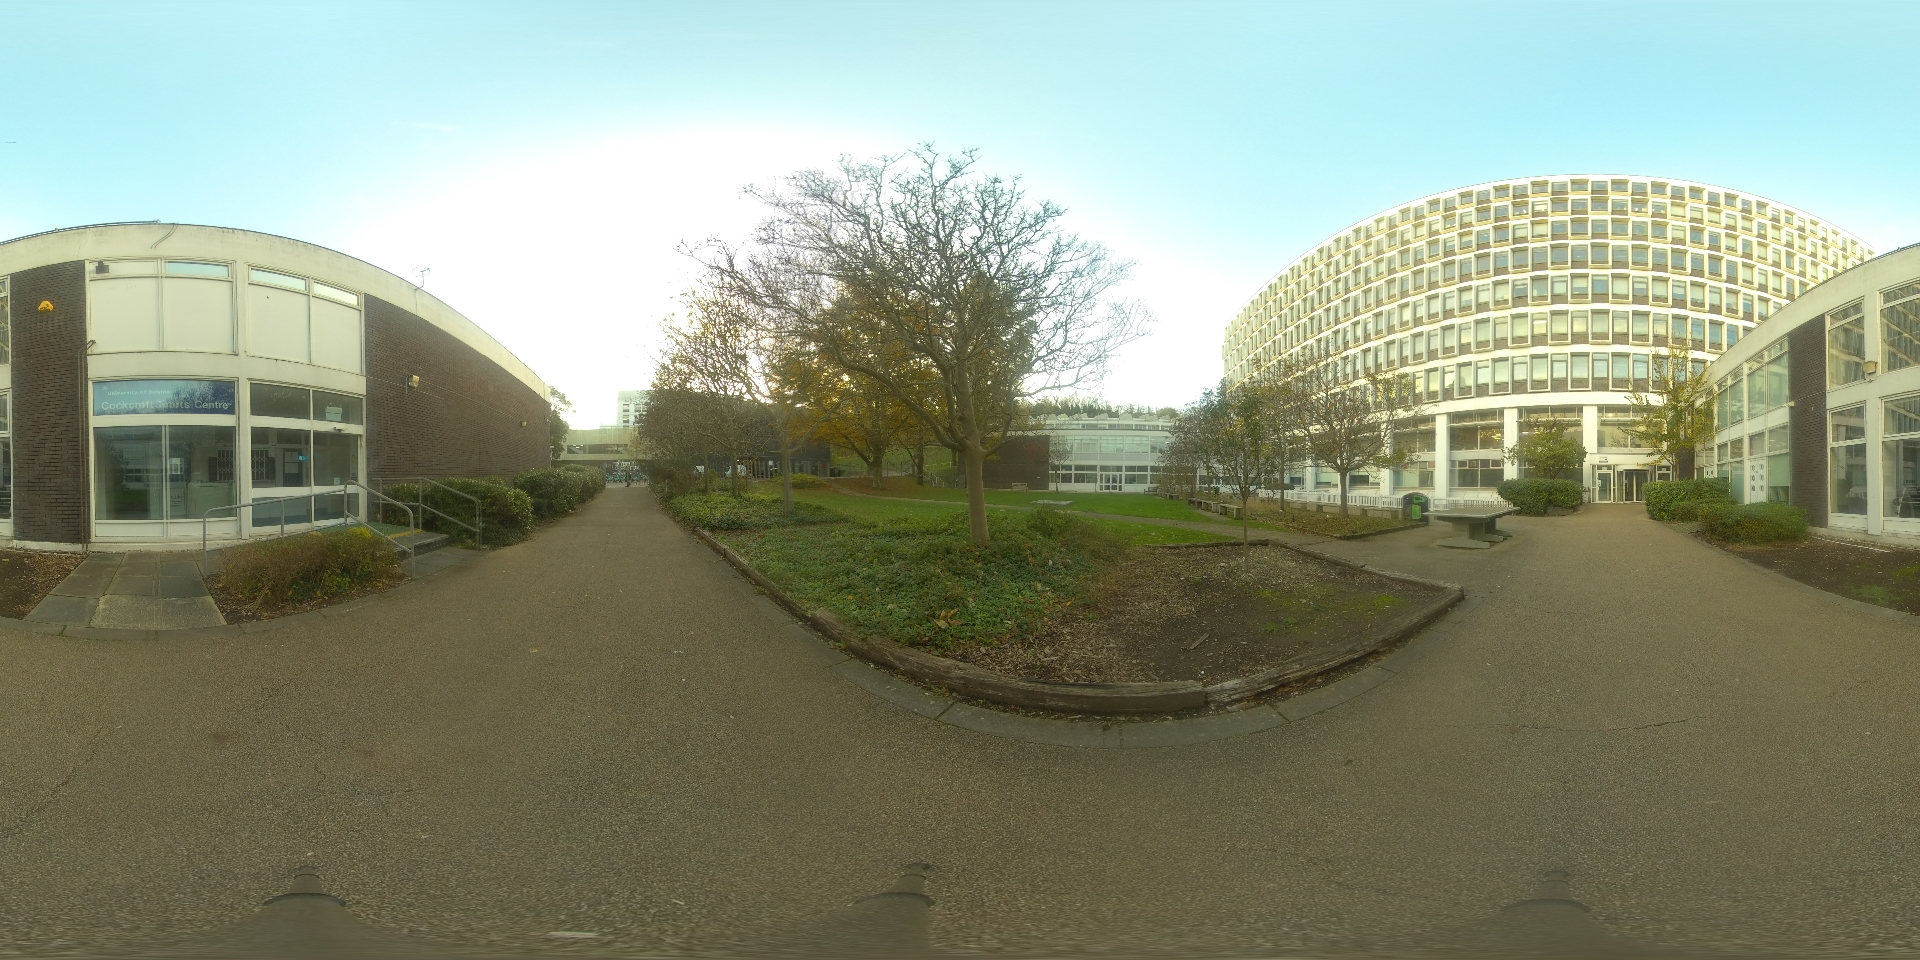
We are going to photograph both in a exterior and interior environment. The procedure is similar. The main difference when inside is the lower light condition so you will have to take into consideration the normal setting of any shooting session.
Steps for Interior and exterior shooting
- Please direct yourself to the interior of the building. Find a suitable position to cover most of the space of the room.
Position the tripod on your desired spot.
Unpack the Insta360 camera from the box and position it on top of the tripod.
Make sure the tripod is levelled using the bubble.
Attach the camera on top of the tripod.
Attach the two antennas on top of the camera, or any other additional equipment required (e.g. microphone).
Switch on the camera.
Connect the camera to the phone App (which you have downloaded at the beginning of this lesson).
Set up the app to mono shooting and change the setting of the lighting according to your test and the quality of the photograph.
Remember to step away from the camera and hide yourself somewhere where the camera will not be able to see you and take a shot.
Experiment with different positions, for example, try a small shooting tour so that all the parts of the area that you are shooting will be covered.
Basic tips to achieve a good shooting session in this exercise are:
- Do find a good position for the camera
- Do not shoot against walls
- Do not to shoot when the sun is low on the horizon and directly pointing towards one of the camera lenses (unless you want to achieve a particular effect).
Finally, you can also follow these tutorials for basic camera operation and to connect the camera to your phone:
Insta360 Pro 2 Tutorial – Basic Camera Operation, under Insta360, via YouTube
Insta360 Pro 2 Tutorial – Connecting to your device, under Insta360, via YouTube
How to setup a VR or 360 Camera - Insta360 Pro, under [LensProToGo]https://www.lensprotogo.com/), via YouTube
Content from Processing and Stitching
Last updated on 2024-12-31 | Edit this page
Overview
Questions
- How do we process raw data after spherical panorama photographs have been acquired?
Objectives
- Explains how to process and stitch spherical panorama photographs by using the Insta360 Pro2 stitching software
Downloading and organising images in the computer
Once the images are acquired they will need to be saved on a local disk to be processed. Each camera has its software to save the images.
In this workshop, we are going to use the Insta360 Pro2 stitching software.
For other types of 360 cameras please follow the specific instructions of each camera. However, it will be usually sufficient to download the images by connecting the camera via USB. Another option is to extract the SD card from the camera and insert it into a card reader of the PC.
Using a suitable name which reflects your project, transfer all images into a folder.
Good practices include:
Within this folder, create another one named images. Copy the images from the camera into the images folder.
Turn on the camera
Start by going to the storage device on the camera
Connect the camera with the LAN cable to the computer (in case you also need an internet connection on your computer please use your WIFI)
Enter the IP address of the camera into your file explorer: 192.168.1.188 (for Mac users go to connect to the server and type 192.168.1.188 then connect as guest and choose pro2)
Check that all the files are there
Open the Sticher software go to the Cam file manager and click import Method 2
Type the IP into the address bar 192.168.1.188
Select the SDcard folder
Click Import to local drive
Select the location above mentioned and import the images
Guidance on how to connect the Insta360 Pro2 camera can be also found in the video tutorial below starting from part 2 at 1.00 min or found in chapter one of the Insta360 Pro2 Manual.
Insta360 Pro 2 Tutorial – Importing Files, under Insta360, via YouTube
Stitching the images
The process of stitching images after acquiring and downloading them to the computer also differs from software to software. Although not compulsory it is a good practice to learn the software that comes with the camera, especially when the camera is a professional one.
The basic steps for stitching the images are:
Open the Insta360 Stitcher
Drag the folder containing the images to the left window of the interface
-
Adjust the setting on the right side of the interface:
- Content type: monoscopic
- Stitching mode: new optical flow
- Sampling type: fast
- Blender type: auto
- Leave the other setting and click Preview Stitching effect
- Try Zenith optimization at the bottom of the window
- Drag the image if you want to change the centre viewing point
- Close the window and go to output settings
- choose the resolution -choose the output folder (the one you set above)
- choose the file name and extension (Usually .jpg unless you need an uncompressed file, then choose .tiff)
- Click stitch now
These instructions can be also found in this video tutorial:
Insta360 Pro 2 Tutorial – Stitching 360 Photos in Stitcher, under Insta360, via YouTube
For the full process, you can also follow the video below.
Using the Insta360 pro 2, under Joseph Farbrook, via YouTube
Content from Viewing and Publishing
Last updated on 2024-12-31 | Edit this page
Overview
Questions
- How do we view and publish spherical panorama photographs?
Objectives
- Explain different viewing and publishing methods for spherical photography
Types of projections
When we want to visualise spherical panorama photographs, we go through the process of mapping the result on a curved surface.
This allows the viewer to explore the image by turning around the virtual camera left, right, up and down.
There are different types of projection for mapping panorama images onto a flat surface, including:
- Equirectangular
- Rectilinear
- Cylindrical
- Mercator
- Fisheye
- Sinusoidal
- Stereographic
The stitching software that we used for this workshop returns 360 images with an Equirectangular projection, however you can further learn about the technicality of the different types of projections.
For advanced learning purposes, it is also advisable to experiment with applications such as PTGui or PTAssembler. They give full control in creating panorama images from single flat photographs.
There are several methods for viewing and publishing panorama images:
Flat panoramic images (no distortion - orthogonal)
Usually, these images are considered panoramic views on the horizontal axis but cannot be joined to form a full 360 spherical representation.
They are useful for building measuring purposes and landscape representations. All modern compact cameras they have a mode to produce this kind of image by automatically stitching several photographs taken from a single point of rotation.

Fish-eye lens images
Usually they go up to 180 degrees of field of view. They can be mapped onto a 3D viewer after processing them with stitching software or with a viewer that can project spherical 360 images.

Spherical panorama images (with distortion)
These are the unwrapped versions of the images resulting from stitching the photograph taken with a fish-eye lens. They can be fully mapped onto a 360 viewer.

Mapping images onto a 360 viewer
There are several commercial and non-commercial viewers for mapping 360 photographs.
We are going to use the Pannellum Online viewer for its simplicity and the possibility of directly publishing 360 images online. The viewer was developed by Matthew Petroff and the full publication can be found: https://doi.org/10.21105/joss.01628
Go back to the setup page and choose one of the church’s images by right clicking on it and getting the link, then paste it to the viewer.
To view your own produced image please upload them to a site that supports CORS, e.g. Imgur and get the link.
Content from Practical Exercise viewing and publishing spherical panorama images
Last updated on 2024-12-31 | Edit this page
In this section, we will explore how to view and publish spherical panorama images after they have been acquired and processed.
Challenge
Collect the processed spherical panorama images and prepare them for online viewing.
Choose a spherical interactive viewer that best suits your purposes.
Once the photographs have been captured you will need to download them onto the computer, process them and publish the result to be viewed in different formats. Try to follow these basic steps to achieve a good result:
Get the camera out of the box and place it in a secure area near the computer (you can also use the tripod).
Connect the camera to the computer via Ethernet or by other means (please see section 6 of this document).
Follow the steps in section 6 of this document for downloading and stitching.
Once you have your spherical panorama stitched files choose one of your stitched images and upload it onto a web server such as D4Science, Imgur or Wikimedia (you need to create an account for these last two).
Once the file is uploaded get the URL link of the image and past it into the first box of Pannellum viewer.
Congratulations you are viewing your first spherical panorama photograph online!
Get the URL link of the result of the embedding code and paste it into one of your social media or personal pages if you want to.
Congratulations you have just published the first spherical panorama image!
There are many interactive viewers for spherical panorama photographs some more basic while others more advanced.The Pannellum viewer is a good starting point because it is open source and customisable. With Pannellum and other viewers, it will also be possible to create Virtual tours, however, it is out of the scope of this exercise to learn how to create this type of visualisation. If you want to further explore this type of publication here is a list of tools that you may be able to use for your project:
- Pannellum Online or self- hosted.
- Google Streetview
- Marzipano
- Asteroom
- Matterport.
Content from Additional Links
Last updated on 2024-12-31 | Edit this page
Image Theory
Taking spherical panorama photos
Images and content from James Hays, Computer Vision module @ Brown University
Principles, guidelines and tutorials for spherical panorama
Guide to panoramic photography
Panoramic Photography With Free Software and Cheap Hardware
University of Pitsburg teaching Centre