Summary and Setup
This resource is an introduction to the photogrammetry technique to capture visual data about cultural heritage assets and produce associated 3D models.
By the end of this lesson, learners will:
- Be able to explain the basics of photogrammetry, including practical aspects of photogrammetric acquisition projects.
- Determine which objects and environments are suitable for this technique.
- Design the best setup and strategy to photograph objects for photogrammetry.
- Use software to process visual data and output a 3D model.
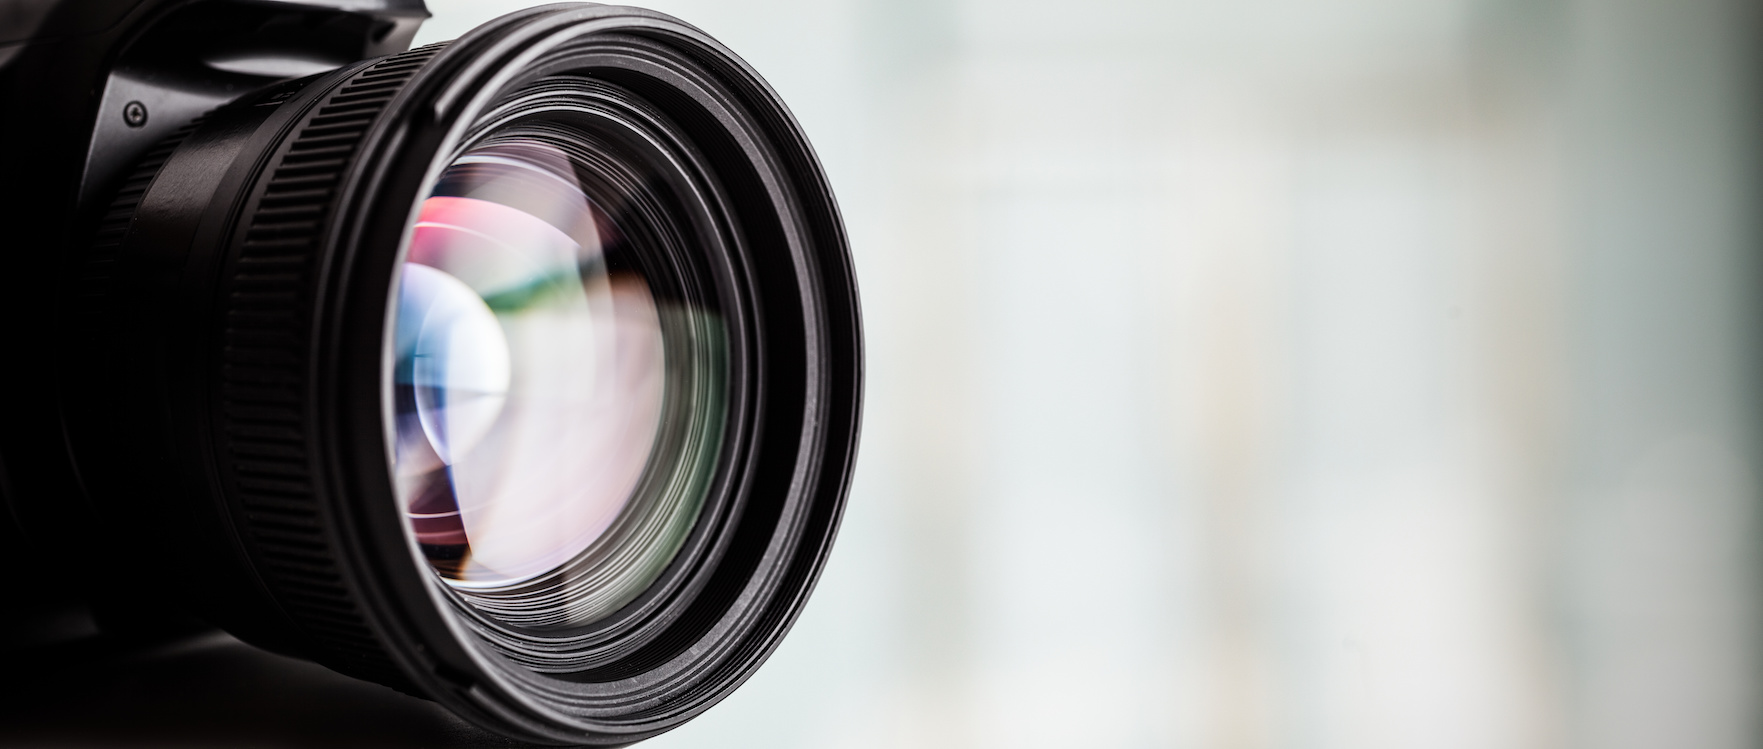
Equipment
For photogrammetry you will need access to some minimum equipment.
Digital camera: a compact or a digital single lens reflex (DSLR) camera can be used. Preferably you should use a camera that allows manual control.
Resolution: minimum resolution requirements are for a 5 MP camera. For better quality choose a camera with better resolution (e.g. 12 MP camera for professional quality).
Lens: Fixed lenses are preferred but if you have a variable lens, try not to zoom and define one focal length (to its maximum or minimal value right from the start). A focal length of 50mm (as the eyes see it) or higher would generally work well (generally it is preferable not to go below 35mm). For small objects a lens between 60mm and 80mm would be an option or a macro lens could be used too.
The equipment below is optional but can speed up the process if you want to digitise many objects:
- Tripod can be used if using a turntable for stable camera placement or for shooting when light conditions do not allow to maintain an aperture speed above 1/60 of a second when holding it by hand.
- Remote control for the camera when an object needs to be rotated manually or the camera is placed away from the photographer.
- Turntable manual or automatic (which can be synchronized with the time of the camera shooting).
- Diffused artificial light to eliminate shadows as much as possible.
- Circular polarizing filter for reflective artefacts.
- Laptop or PC with at least 16GB RAM.
Software required
You will need access to:
A software which allows you to batch convert raw images from the camera might be useful if you have been shooting in raw format. Raw Therapee is a good option.
An Image processing software such as GIMP will also allow you to manipulate and post-process textures generated after the model has been created.
There are various options for photogrammetry software. The process for generating the 3D model will vary depending on the software used. Some options include:
Comparisons between these software are available. In general, paid versions offer better support and are more user friendly, supporting a variety of scales, formats and workflows.
Here we make use of the 3DFlow ZEPHYR software, which has the advantage of being user-friendly and provides various types of licenses such as the free educational one. Although there is a limitation of only being able to process 50 images for creating a 3D model.
Datasets
Indoor acquisition - camera static / move object
- Wooden case TIFF dat aset (7.4 GB) and JPEG dataset (1 GB)
- Carved horse contains two datasets from different series of images:
Outdoor acquisition - static object / move camera
- Body sized sculpture in garden TIFF data set (8.9 GB) and JPEG data set (980 MB) and JPEG data set (4.2 GB)
- Queen Victoria statue on pedestal TIFF data set (9.6GB) and JPEG data set (8.9GB)
The resource is built with The Carpentries Workbench, as part of the training activities of the AHRC-funded network service on Digital Skills in Visual and Material Culture.